Check the “Hardware Location Code” of the failed hard disk

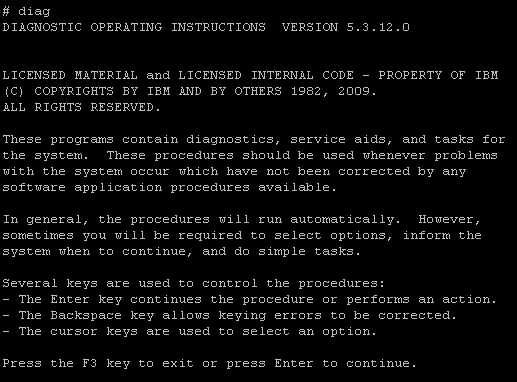
Run Diag
Select “Task Selection” and press enter

Select “Hot Plug Task” and press enter

Select “SCSI and SCSI RAID Hot Plug manager” and press enter

Select “Replace/Remove a Device Attached to an SCSI Hot Swap Enclosure Device” and press enter

Select the Failed disk( Example: hdisk1) and “don’t press enter” and inform to Onsite team .
Onsite team replaces the Hard disk and will inform to you.

Once you get the confirmation from onsite team press enter
Then slot 2 is populated.

Perform cfgmgr, check the new hard disk using lspv.
Change the PVID.

Assign it to rootvg using extendvg

Mirror the rootvg

Sync the rootvg

No comments:
Post a Comment